This post is the third of our Contributor’s Week, where readers and customers just like you write their stories for our blog. If you’d like to tell your story too, click here!
The beautiful simplicity of the bicycle can make for excellent photographs. We’re quite proud of our two-wheeled machines too, and on new bike day, after a cool upgrade, or when we find a great backdrop during an epic ride, we like to show them off to friends and followers by taking a picture.
Yet many of these images get flipped through quickly and unnoticed. There are too many photos of bikes where the details are lost, or the curvature of the expensive frame blends in with a muddled background. Sometimes the bicycle itself becomes part of the scenery, and the viewer’s eye doesn’t know where to land first.
The good news is that you don’t have to be a pro photographer with pricey gear to take a compelling photograph of your beloved ride. I’ve shot thousands of bike photos at races and organized rides, and I’m happy to share some tips that will make your pics stand out from the overcrowded Instagram feed. I’ll start with a few basic photography tips, and then give you pointers specific to making bicycles look their best. I promise you won’t need a digital SLR camera like mine to take some great shots — these tips can be applied to improving your pictures with whatever camera you have, whether it’s an iPhone or a fancy dSLR that cost thousands of dollars.
Let me start with a quick crash course on photography. I taught myself the camera, composition, lighting, and all that other stuff by reading dozens of books and shooting tons of photos. But you don’t have to do all that just to get a great pic of your beautiful bicycle — just follow the basics below to get a better result.
1. Rule of Thirds
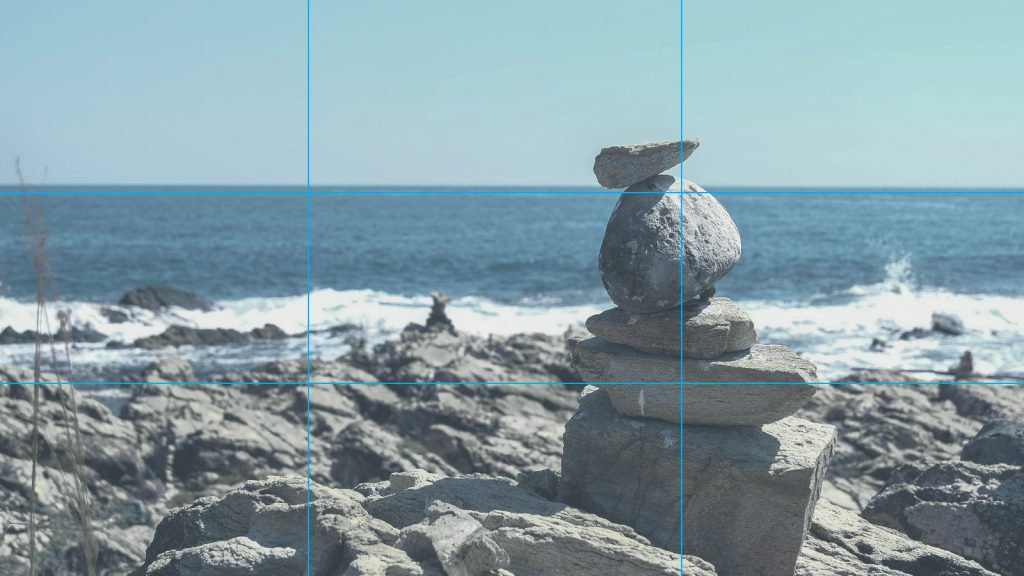
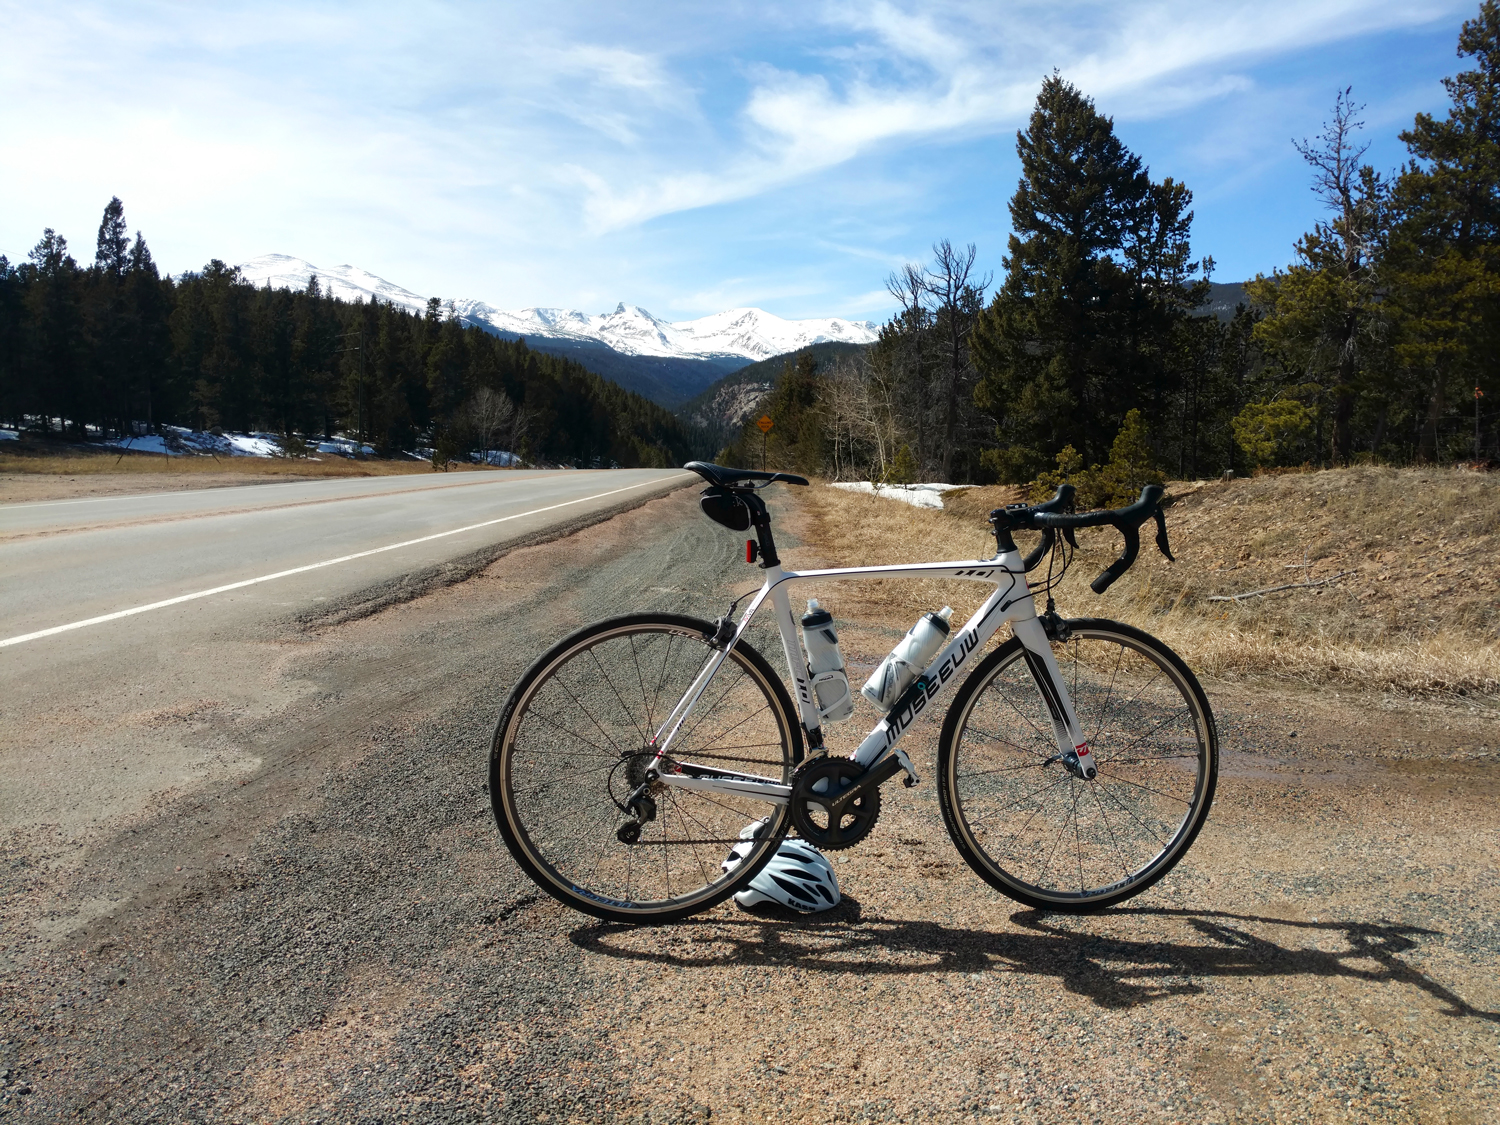
You may have heard about the rule of thirds. Imagine a gridline superimposed over your image, divided into thirds. The subject should be in the first or last section of the gridline, not the middle. This creates more interest in the subject.
Your composition should be clean: watch for distracting objects “growing” out of your bike in the background, or things like branches intruding into your photo from the edges of the frame. Sweep the whole frame with your eye before you create the picture and adjust things as necessary.
Speaking of distractions, did you know that the human eye is naturally attracted to the brightest part of a scene? So, a spot of bright glare, or anything too shiny, can take attention away from your ride.
The idea behind all of this is to get your viewer’s eye to go to your intended subject easily, and then let them roam around the rest of image to get it all in without unnecessary distractions.
Now I can’t write a post about photography without mentioning lighting. Ideally, you want that warm side-lighting from sunrise or sunset, but you can’t always get that. The diffused lighting you get from an overcast day is also a good way to go. Soft, even light is great. Stay away from harsh shadows on the bike.
2. Focus
The auto focus on cameras, including those on smartphones, can be easily fooled. That means that the camera may focus on the wrong thing, like the tree just behind your bike and not the bike itself. To remedy this, frame the photo on your smartphone how you want it, and tap on the screen where your bike is — this will make the camera focus on the bicycle.
If you are using a dSLR or other type of camera, you can typically press the shutter button halfway while keeping the bike in the center of the image, then, without releasing your finger, recompose the photo to your liking and finish depressing the shutter to expose the picture. Pressing the button halfway makes the camera focus on whatever is in the center of the image.
3. Setting up your ride
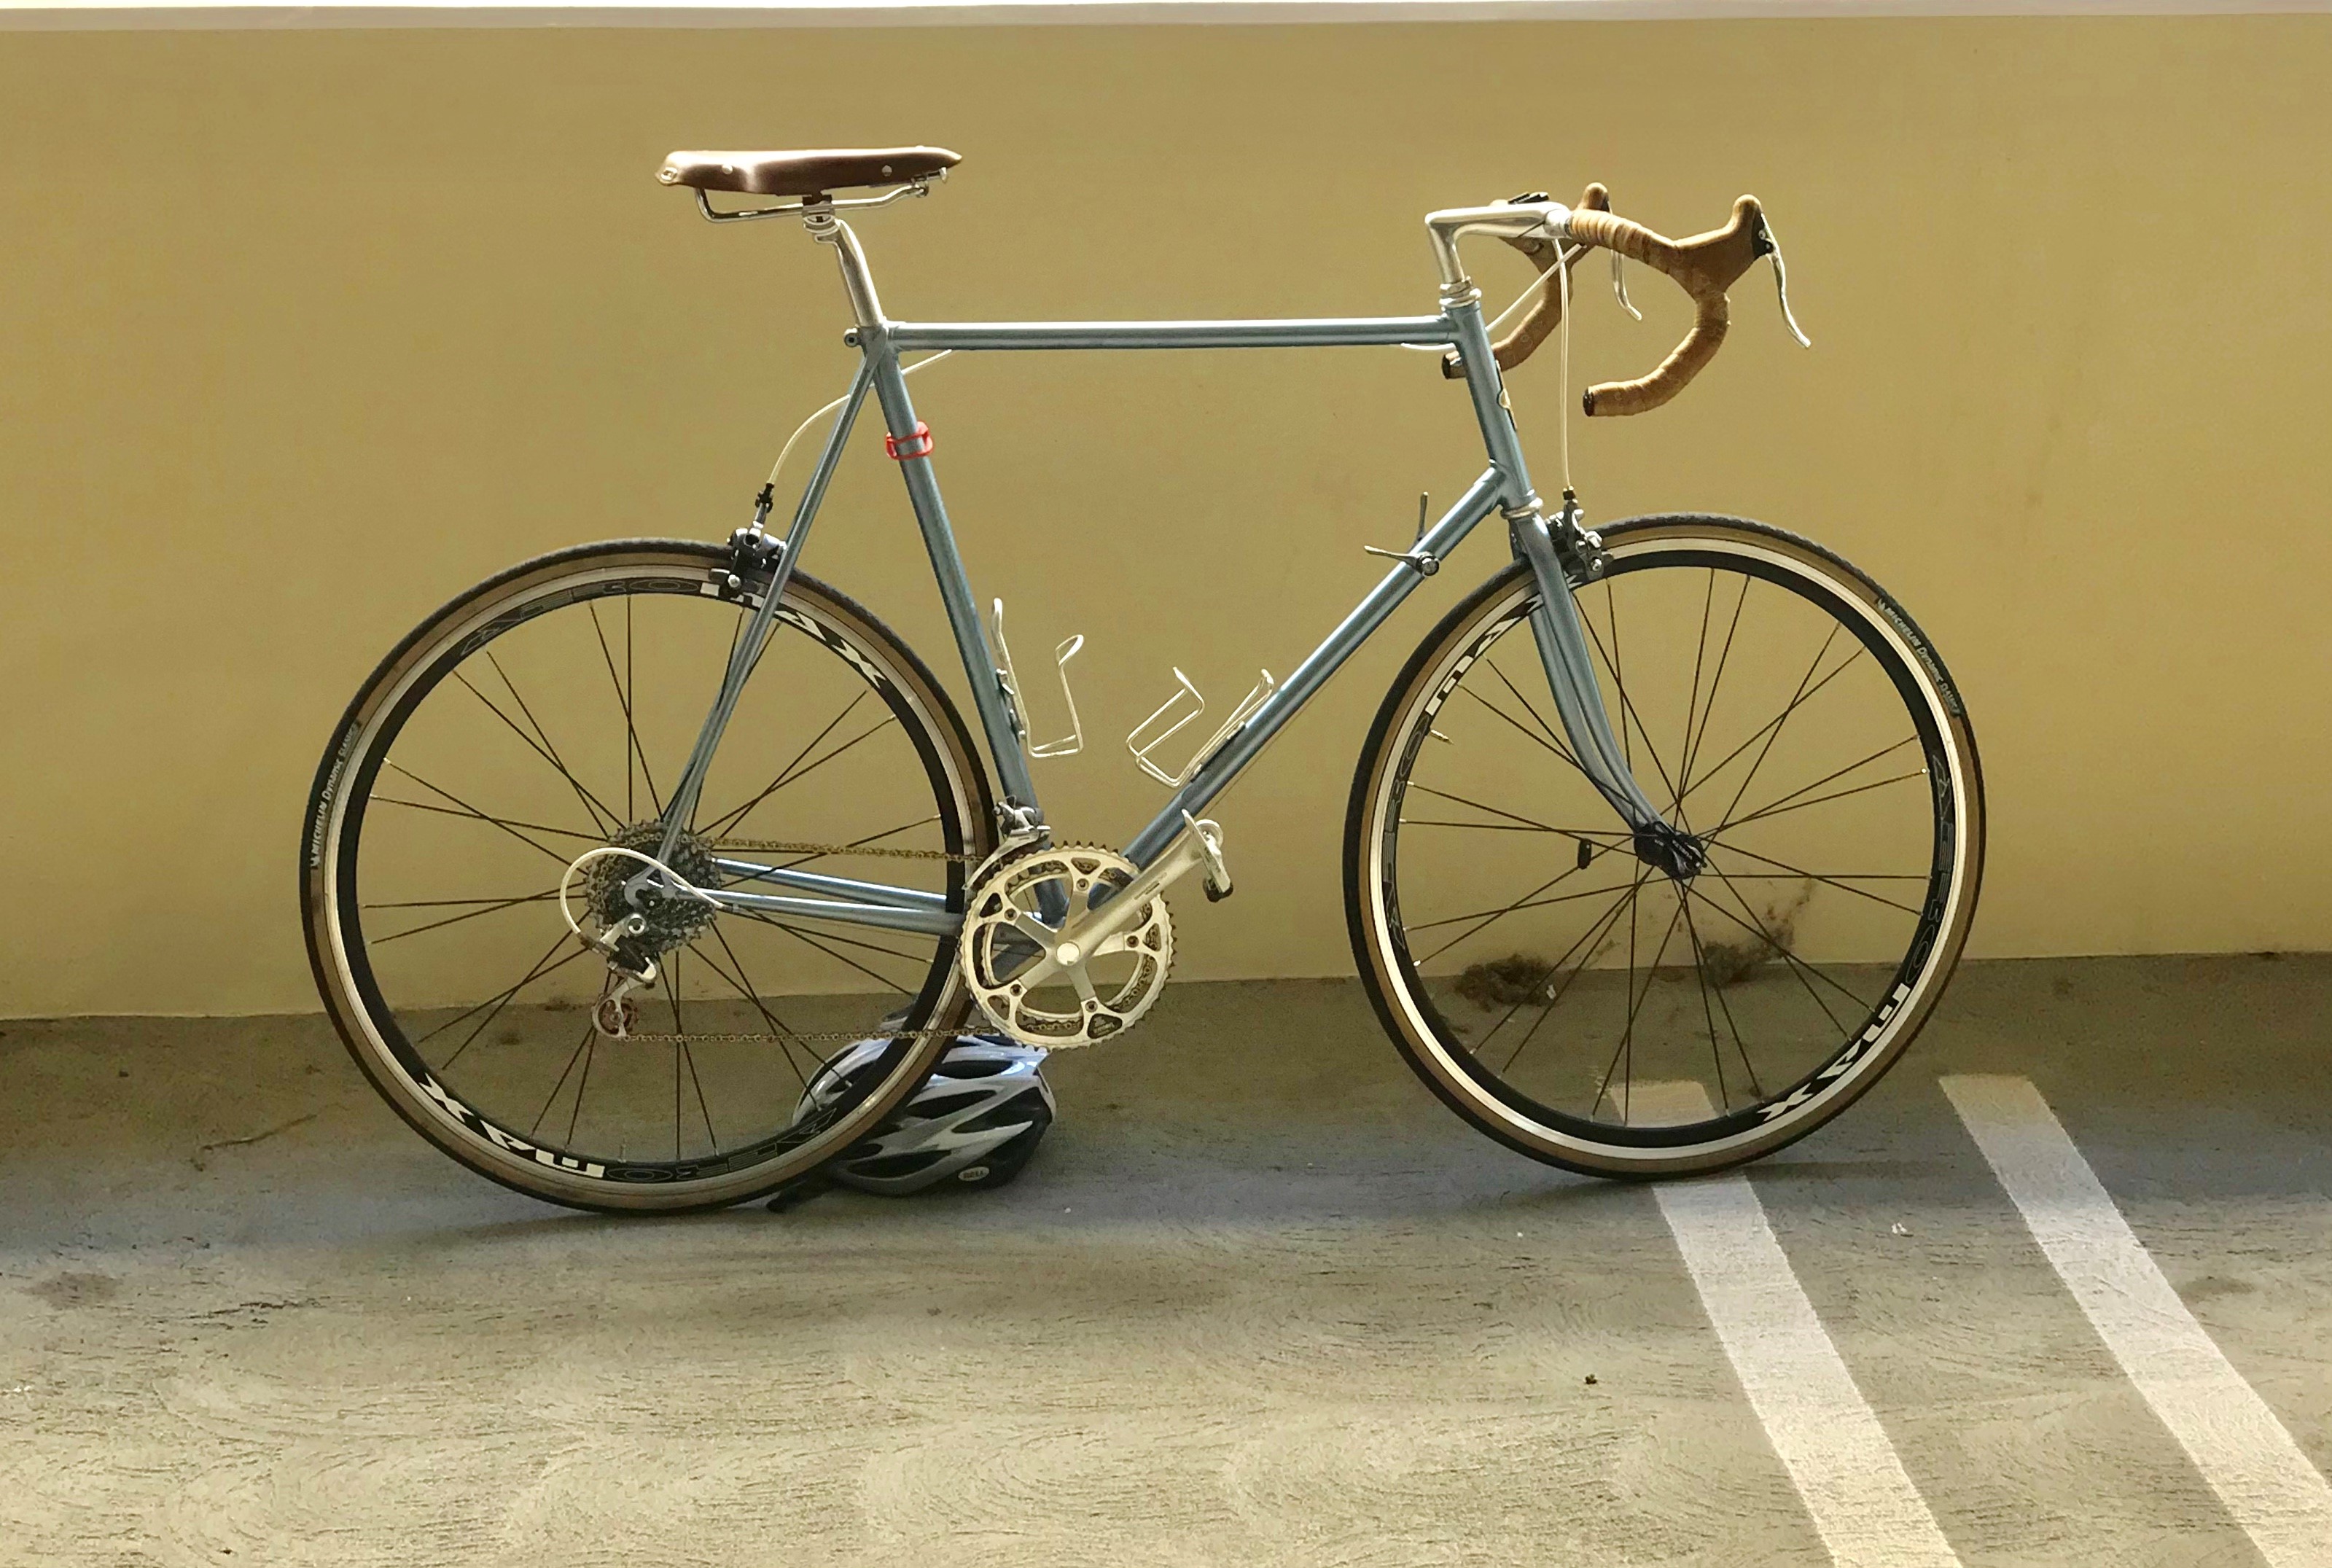
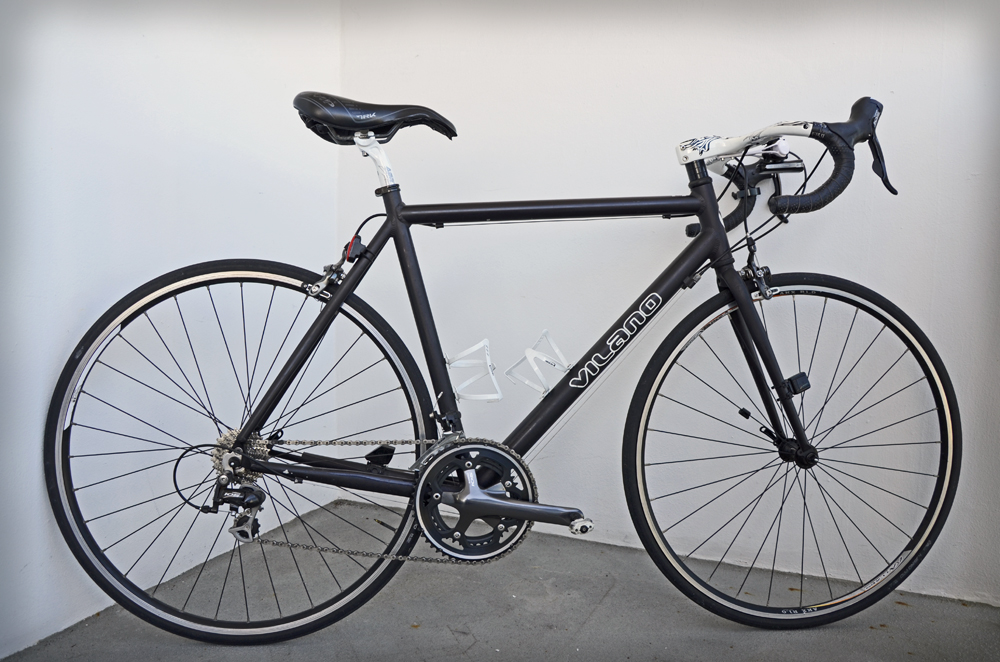
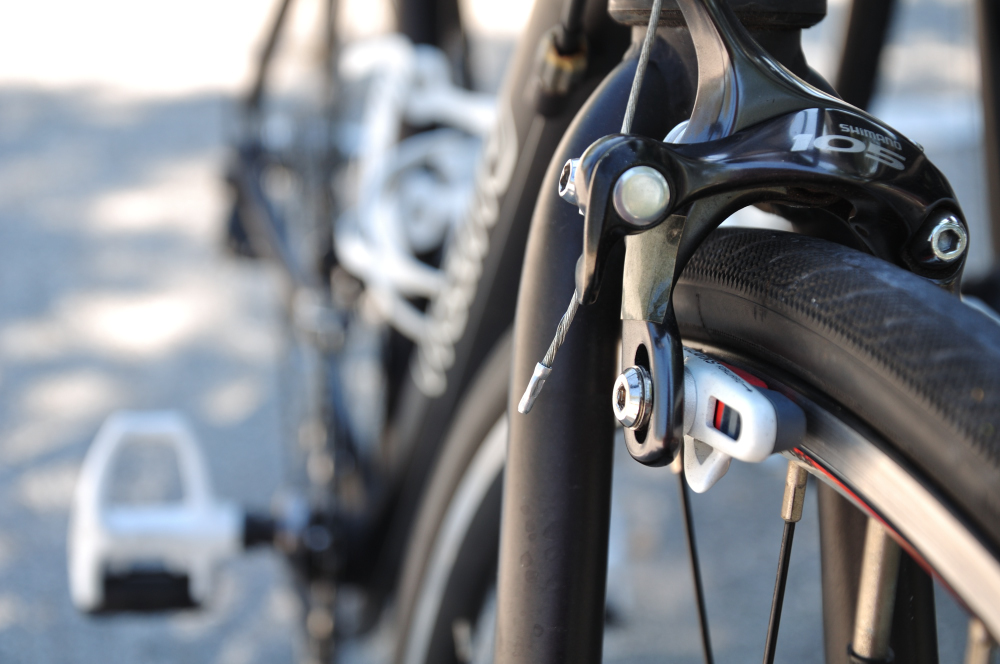
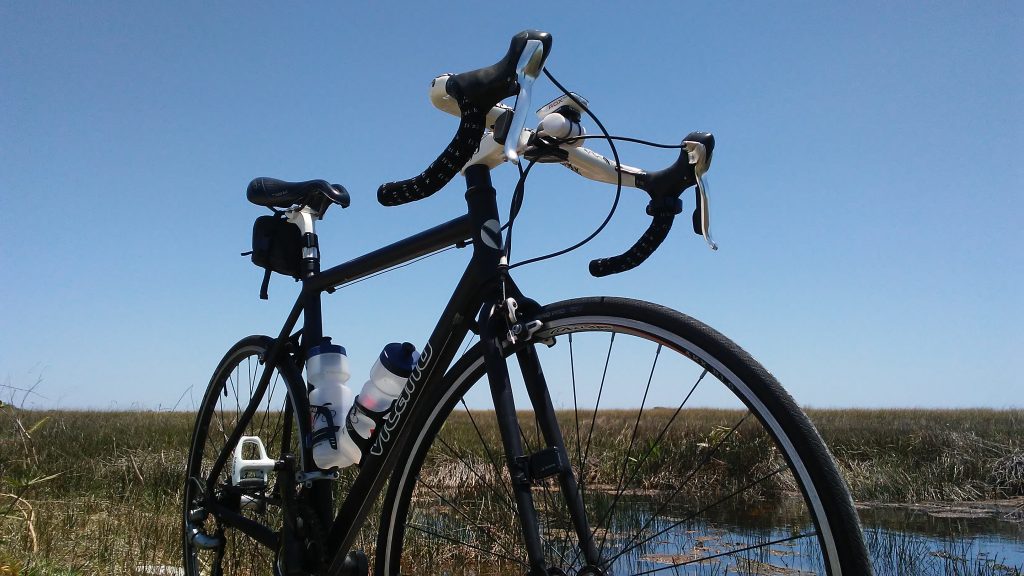
I can go into extreme detail on how everything on the bike should be arranged for a real “pro” shot, but for now I will start with the basics. Show off the drivetrain, and only shoot the bike from the chainring side if possible. This is the more interesting side of the bike, its “good side.” Pedal position is important. Keep the pedal in the 4 o’clock position – it will follow the line of your chainstay, making a neat line for the eye to follow. Your saddle should be level. If it’s not, it will not only make for an uncomfortable ride, it will also detract from your awesome photo. Every cyclist looking at it will take notice of the slanted seat, and they won’t be able to dismiss it long enough to enjoy the rest of the image. Underseat bags should be removed for a cleaner look, along with water bottles. Lastly, tire valves and logos should be aligned on each wheel. Keep the logo on the tire lined up with the valve stem when installing new rubber or a new tube. It looks good and gives you a good reference point when going around the wheel to find that pesky flat.
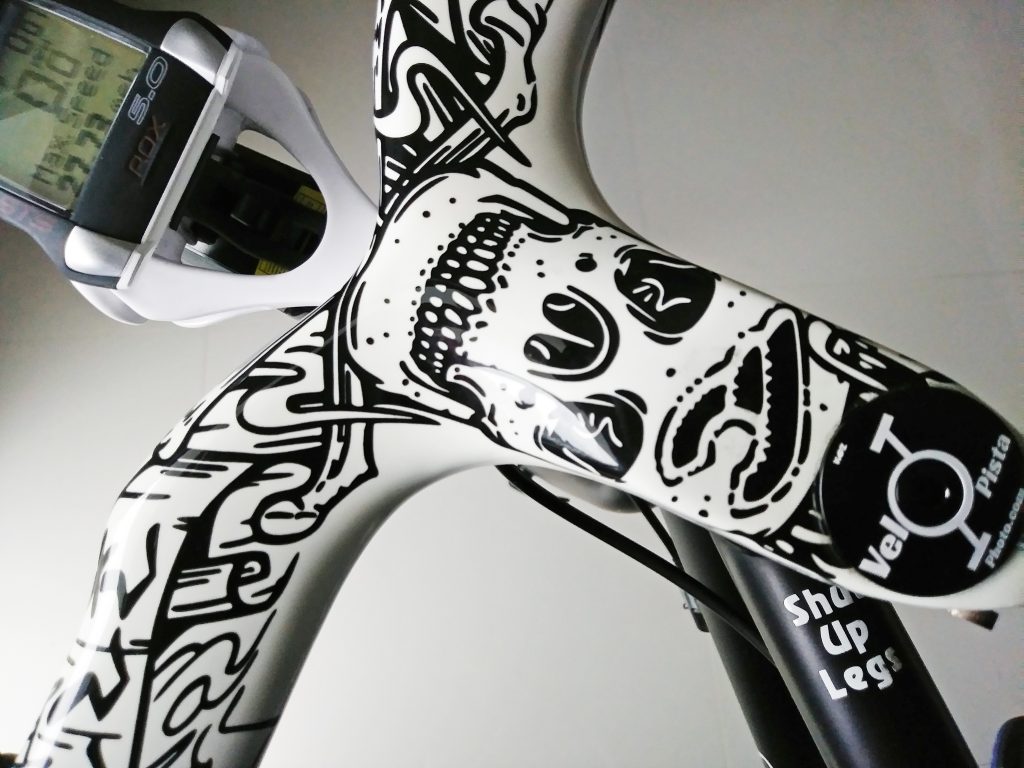
4. Come in close
What are some of the more interesting details about your bike? How have you personalized the machine? Play with angles by moving your camera around the component and find an exciting perspective.
5. Angles
A lot of people shoot their bikes straight on, from the side, or just behind the handlebars. Try something different: most smartphone cameras have wide-angle lenses to show as much of a scene as possible from up close. This tends to distort whatever is in the foreground, making it look big and ominous. Use this to your advantage – make a component look huge, without zooming in, and let the lines of your bicycle frame lead the viewer’s eye over the rest of the picture. Also, don’t be afraid to get physical and kneel to shoot up, or climb on something to shoot down.
6. Backgrounds
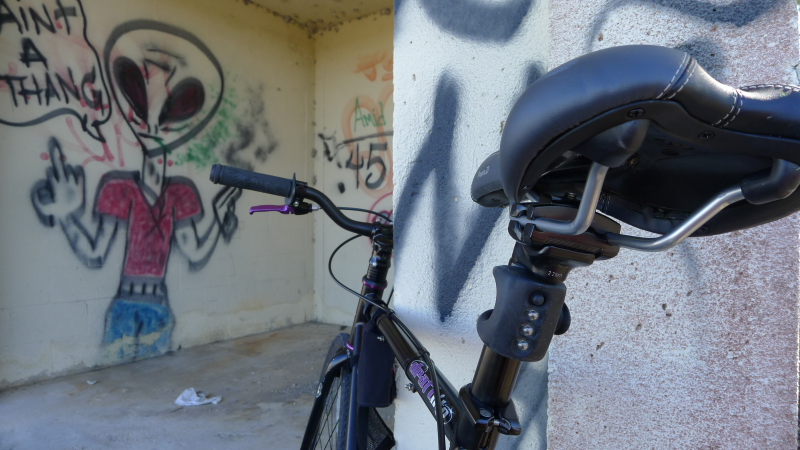
Watch the scenery behind the bike. Too many colors, too much clutter, or even a similar color to your bike can all make the machine hard to see. Keep it simple and look for contrast between the bicycle and the background, so it will pop more in your photo.
7. Keeping the bike up
There are a couple of ways to hold up your ride without leaning it against something. You can hold it up by resting the far pedal (i.e., the one on the non-chain side) on something like your helmet, a water bottle, or even a nice-sized rock. The other way, if you have a riding buddy with you, is to have her hold the bike upright by the back wheel when you have it exactly where you want it, and then let it go just before you fire off a couple of pictures. Let her catch it before it falls over, then repeat until you have the shot you are after.
Follow these tips to show off your badass ride in the best way possible, and make your riding friends jealous with the beautiful photos you’re going to make now.