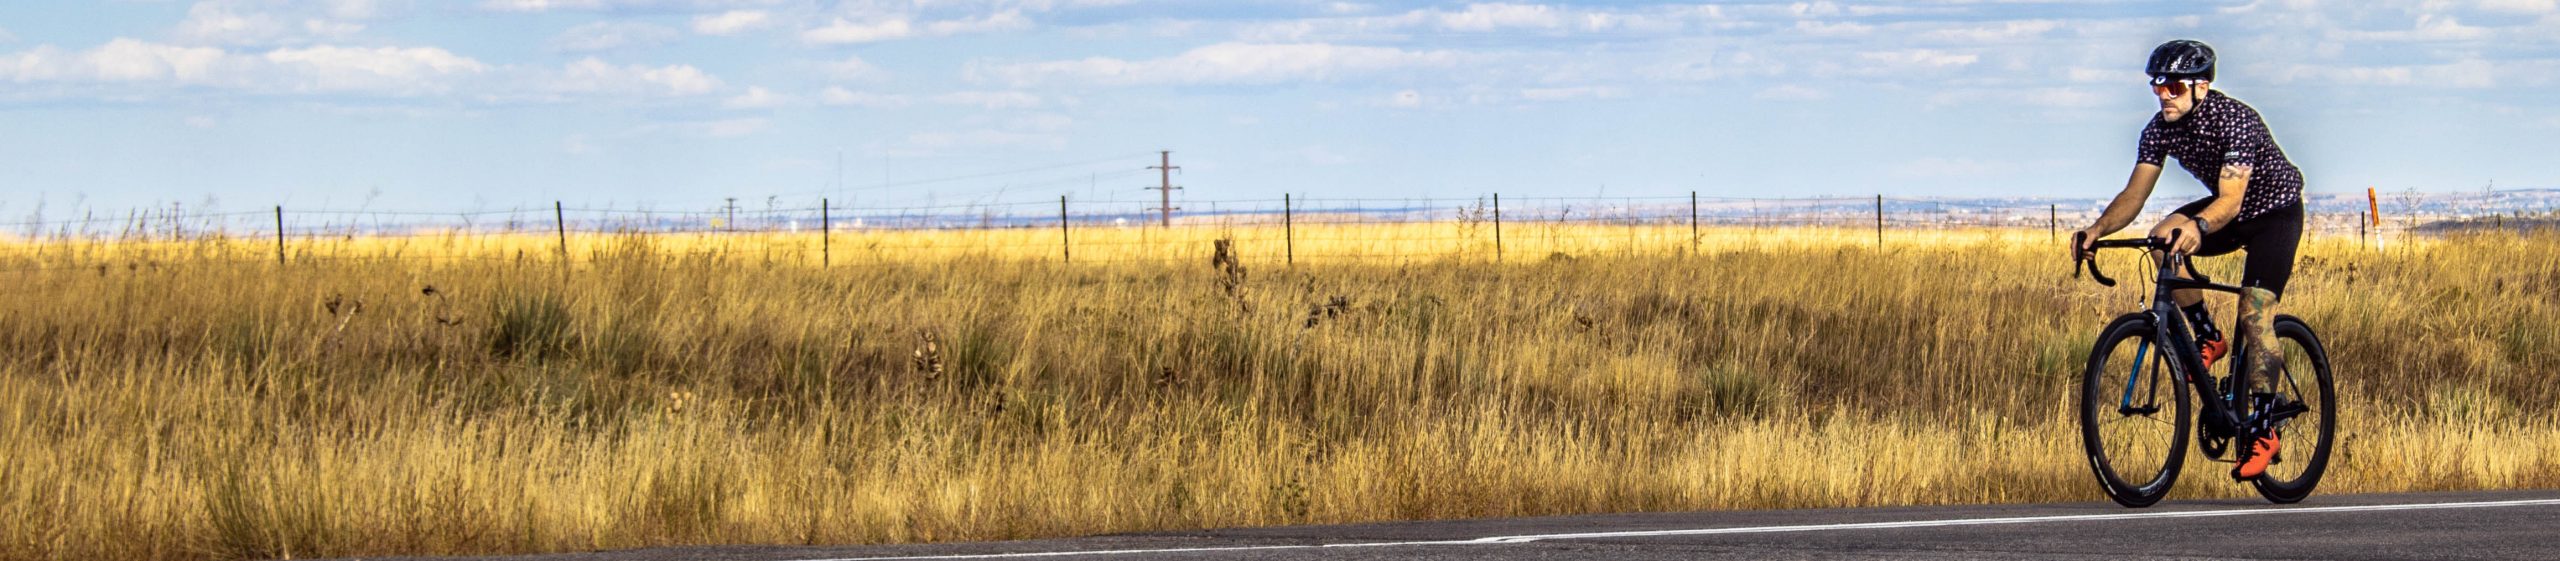
Spring cleaning can refer to a lot of things: cleaning around the house, organizing your garage, or going through your old clothes and getting rid of them. But one thing I like to add to my spring cleaning list is getting my bike ready to add on the miles. Whether your bike has been stored away in your garage for months or you’ve been riding through rough winter conditions, spring is the perfect time to give your bike an inspection before heading out for your first ride of the season. Here’s a quick checklist of things to look over to ensure everything is in working order before your bike hits the road.
Clean Your Bike
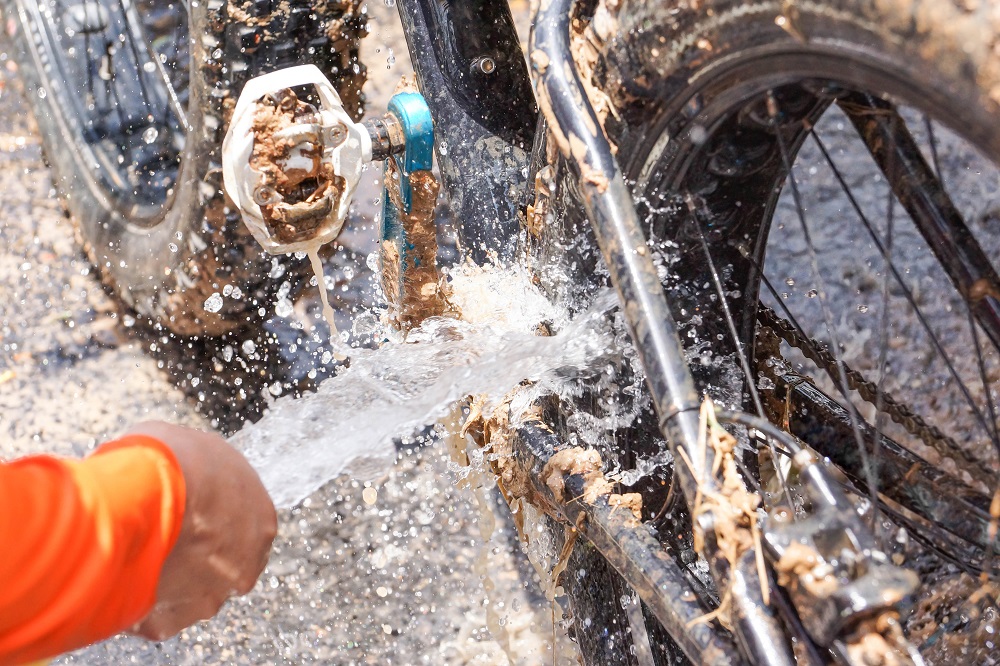
First things first – if your bike is dirty from collecting dust in the garage or picking up winter grime and dirt from wet conditions, it’s a good idea to give it a nice thorough cleaning before you start your inspection. Dirt, salt, and grime can cover up blemishes on your bike that you might want to be able to see as you look it over.
It’s a good idea to clean your bike with a low water pressure hose as you don’t want to be spraying water into areas where it shouldn’t be (specifically your bottom bracket). If you want more info on cleaning your bike, check out one of our other blog posts: How To Clean Your Bike.
Check Your Chain
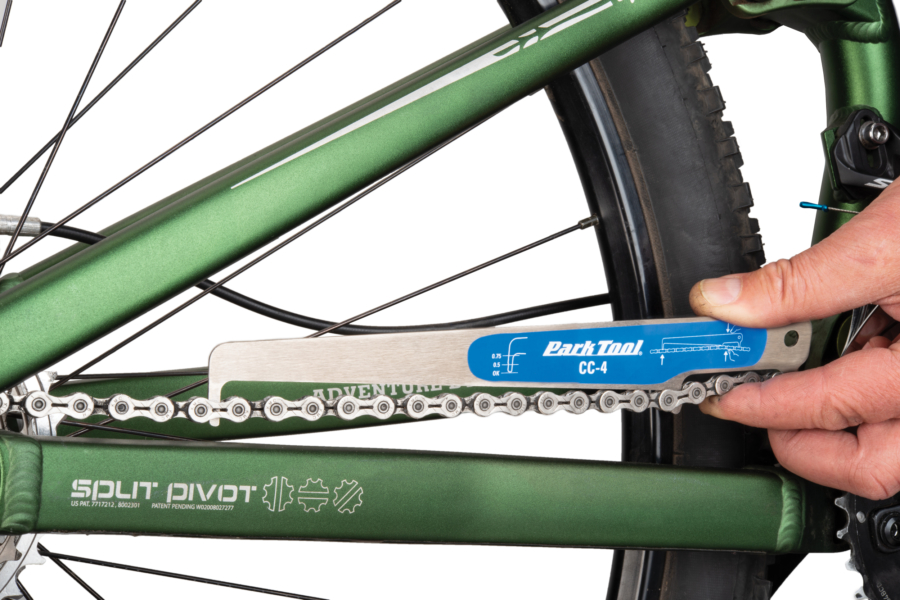
Your chain is one of the moving parts on your bike you’ll replace the most. A worn out chain decreases efficiency when you’re riding and can wear down other parts of your drivetrain like your cassette and chainrings. There are obvious signs of a worn out chain like signs of rust and rigidity (meaning no flex between the links), but sometimes it isn’t so obvious.
The easiest way to check your chain’s condition is to use a chain checker. If you plan to do a lot of riding in the coming months, I highly recommend picking one up so you can stay on top of your chain maintenance, ensure proper tension, and prolong the life of the rest of your drivetrain. A chain checker is a simple tool that you place onto your chain and if it lays flat along the chain it is a good sign that it is time to replace it.
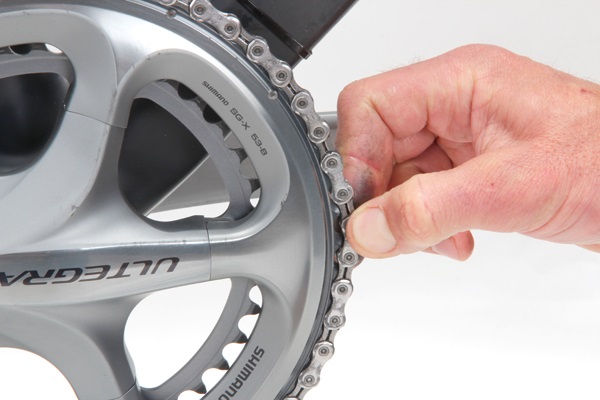
If you don’t have a chain checker, there are a couple old school methods that can help indicate that it is time to replace your chain. One that I like, due to its simplicity, is putting your chain in the big ring and at the front of the chainring try to lift the chain away from the chainring. If the chain easily lifts away from the chainring and you can see the gap between the teeth easily, that’s a good sign your chain is stretched out too much and needs to be replaced. You’ll get a little grease on your fingers, but this is an easy method that is pretty accurate and doesn’t require any tools to check your chain’s health.
If your chain is in good shape and doesn’t need to be replaced, be sure to give it a nice application of lube to keep it running smoothly.
Test Your Brakes
The moving parts on your bike are very important, but if they are working well and you can’t stop…well that’s a recipe for disaster. To check the condition of your brakes you want to make sure you inspect both the brake lever as well as your brake pads.
Start by pulling on your brake levers and taking a look at your brake calipers at the same time. On a bike with rim brakes, it will be very obvious if the brake caliper is contracting onto the rim to stop the wheel. Look to see if it is clamping down evenly on both sides and with enough force to apply stopping power. On a bike with disc brakes, you’ll have to watch for the same things but look at the caliper contracting on the rotor. If you feel you have to pull too far on the lever for the brake to engage, turn your barrel adjuster to the left a few times and test it again.
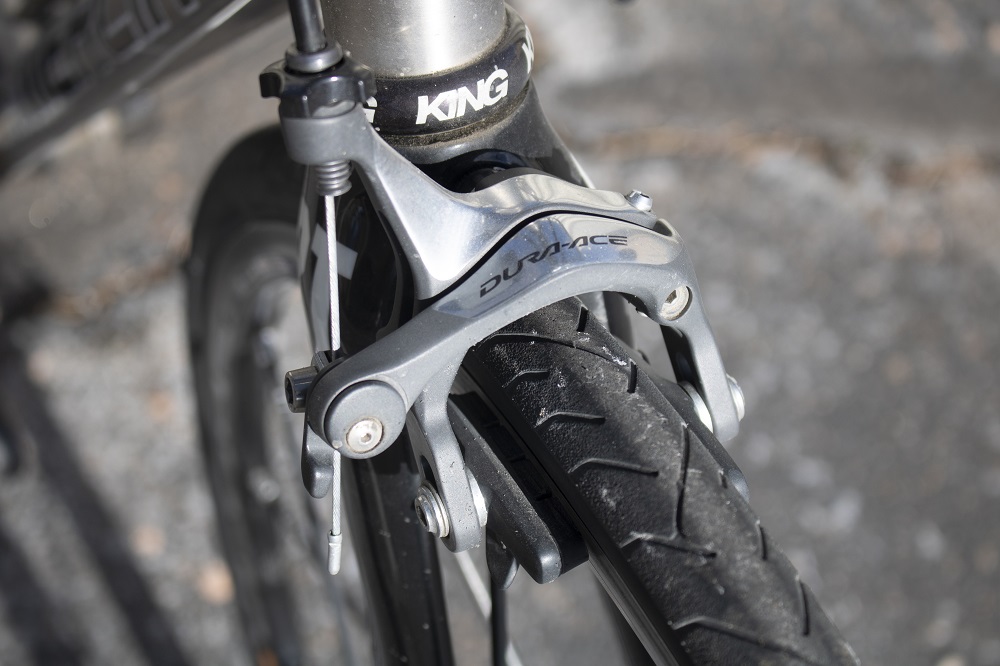
Be sure to check your brake pads while you’re working on this too. If you’re working on rim brakes, ensure that the brake pads are secure and don’t have any wiggle or play as you engage the brakes. For disc brakes, a seasoned mechanic can identify when it’s time to replace your brake pads, but it might not be so easy for the common eye. If your disc brake pads are thinner than 1mm then it is definitely time to replace. It may not be easy to measure, but this is the tell-tale sign of a worn out disc brake pad.
Once you’ve looked over your brakes, you can test them easily by lifting the wheel off the ground and pulling the brake lever, or push your bike forward and pull the brakes to ensure there’s a good amount of stopping power.
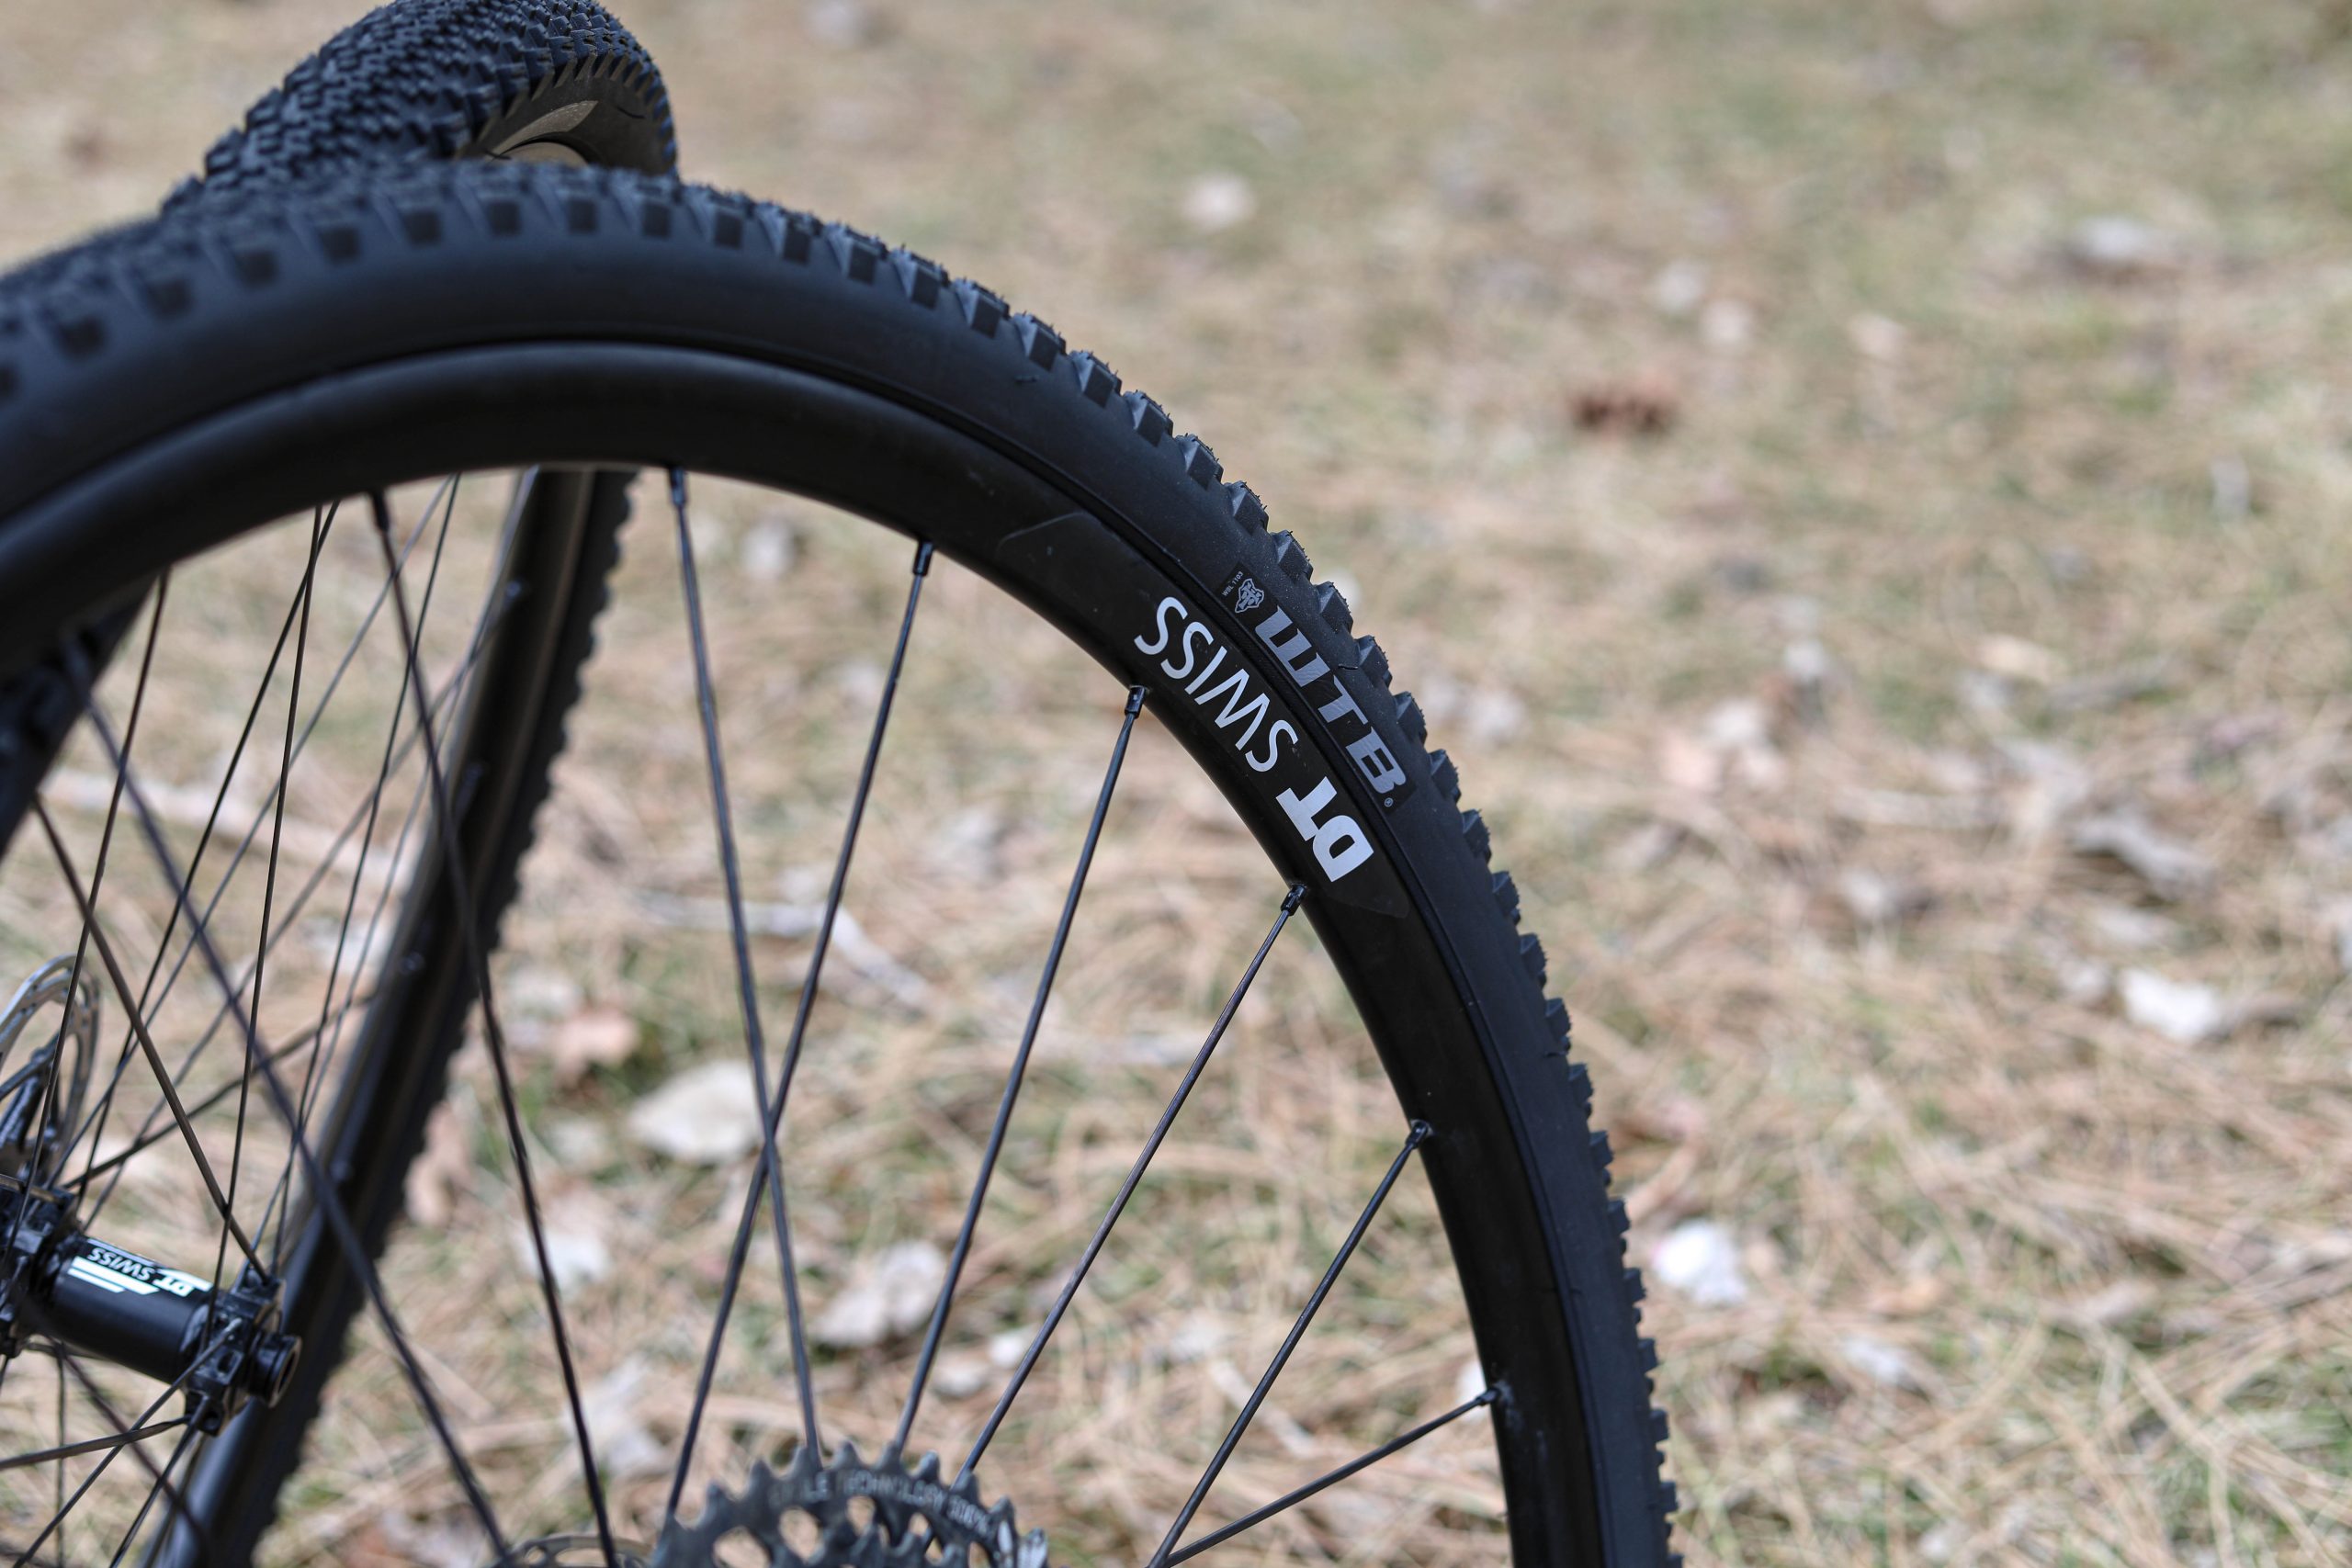
Inspect Your Tires
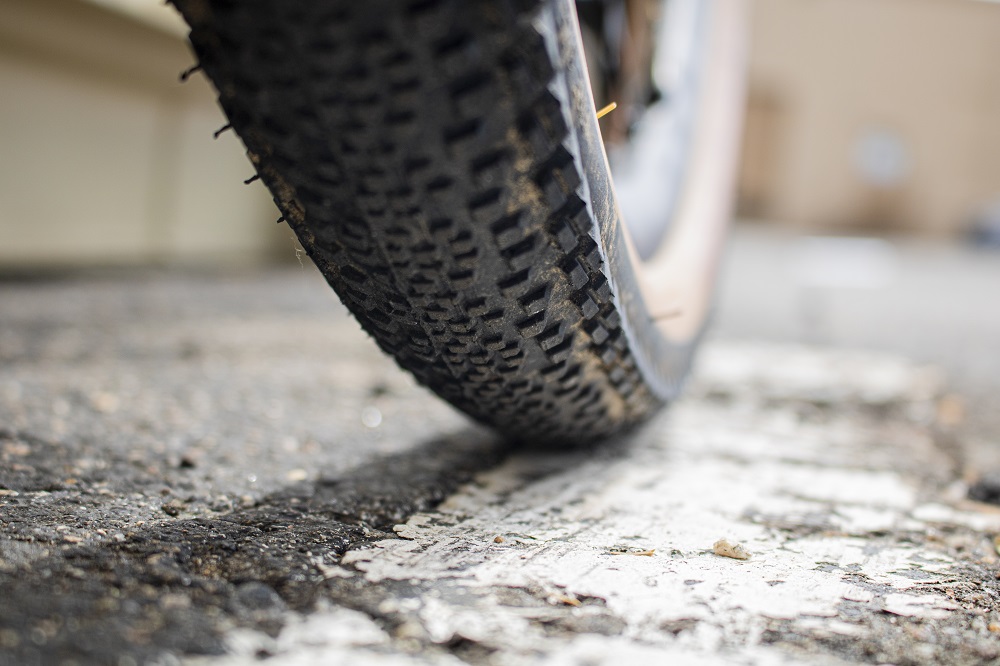
Tires need to be replaced fairly frequently, depending on how many miles you ride and how often. If your bike has been sitting for a while, the tires will undoubtedly have lost some air. A quick test to see if you need to replace your tubes is to inflate the tires and see if they hold air overnight. The same can be said for tubeless tires, but if your bike has been sitting around there’s a good chance to need to add new sealant to your tires before you ride.
Don’t forget to check for signs of tire rot if you haven’t ridden for a while. Look for cracks in the tires, brittleness, or even holes in your tires. It’s a good idea to check out the tread as well, though on slick tires there isn’t any tread to wear down, just the casing which is harder to spot.
Look Over Your Cables And Housing
Take a glance at your brake and shift cables and their housing to make sure there are no holes in the housing or fraying cables sticking out anywhere. This is an obvious sign that it is time to replace these items. It should be pretty easy to tell if they are in good shape or need replacing.
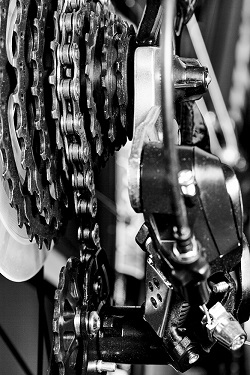
Test Your Shifting
This one can be a little more complex for someone who isn’t mechanically inclined with bicycles. When you first jump on your bike take an easy cruise around the block and shift into your different gears to see how your front and rear derailleurs are performing. If you’re having issues with shifting you’ll probably need to make some adjustments to your limit screws. If you do plan to adjust these, start with small, 1/4 turns on the limit screws to make micro-adjustments and try to center the chain in each gear. You’ll know you’re making improvements by the speed and smoothness of each shift. If you can’t seem to get it right, you might need to head to your local bike shop or jump into some mechanic work yourself like overhauling your jockey wheels.
Ride Your Bike
If you can check off all these boxes you are well on your way to riding and understanding the art of road bike maintenance. It’s a good idea to keep up with these checks pretty regularly to keep your bike in top shape, but it’s even more important to run through these tests when you’re jumping back in the saddle for the first time in a while. Now that your bike is all ready to go, get out there and start logging those miles. Happy riding!